Navigating Hidden Tabs On A Layout Via Drop-Down Menu (with demo file)

FileMaker 8 gave us tab controls. Tabs can replace a set of layouts to save you time as a developer (eg. fewer layouts to maintain) and give your user a more streamlined solution. If you already use tabs, you may have layouts that look like the one below with lots of tabs or with multiple set s of tabs. That can get quite cumbersome to navigate or to even look at.

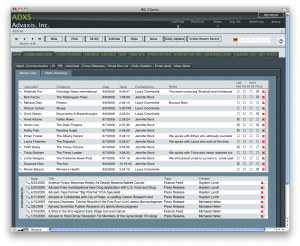
I designed the layout on the left over 4 years ago with the skill set I possessed and the capabilities FileMaker had at the time. You can clearly see we had a lot of tabs and several of them even have enclosing tabs.


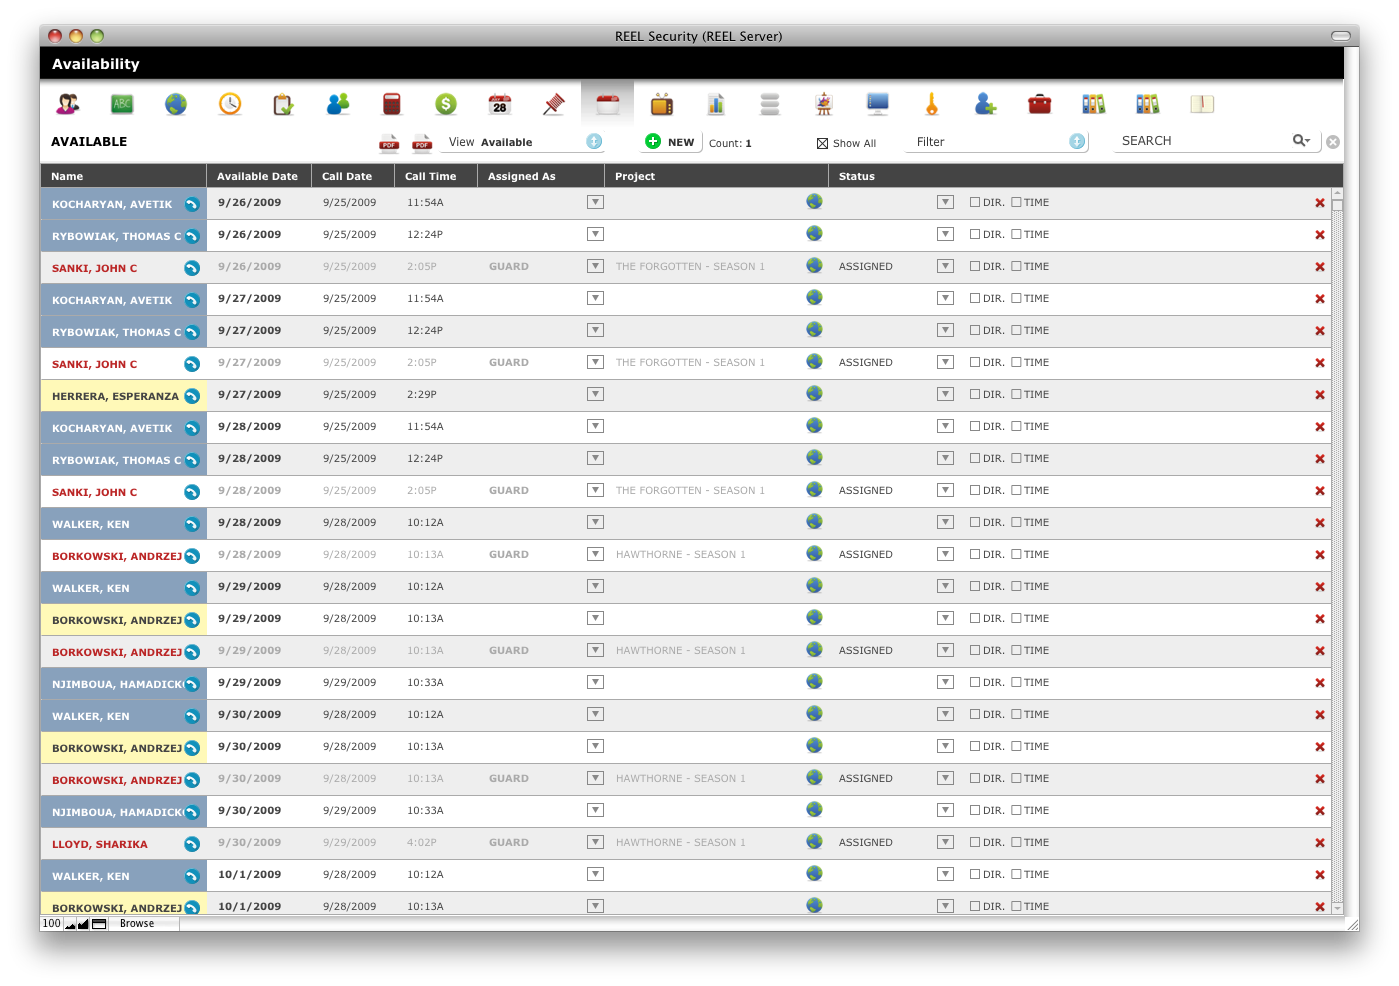
If you are interested in designing your layout to look similar to this one without tabs (FOCUS Framework showed here courtesy of Vince Menanno) read on. This layout includes tabs, they are just not visible in browse mode or even to the untrained eye in layout mode.


When you add tabs to a layout, your layout looks like the one on the left. This—in its original form—is not a pretty sight. You can change the color for each tab but as time goes by you will have more and more tabs, and at some point you’ll run out of real estate. This post is about removing the clutter and navigating hidden tab controls via a drop-down menu.

There is a free demo file in this post (scroll down).. To demonstrate the technique, it has a “Dogs” layout that has a tab control with 3 tabs. The second tab encloses a tab control with 2 tabs. ALL of these tabs are hidden from the untrained eye. Navigation is achieved via a drop-down menu. The menu is populated by a value list that is generated by records in a navigation table. Implementing this technique in your own file requires that you copy a table from the demo file into your own solution. You can freely implement this technique, but please note the file is “as is”. In the future we might release updates to it. Don’t be afraid to play with the file, you can always download another copy.

About hidden tabs

A tab control is “invisible” ei. hidden, when all three conditions are met:

  1. Tab width is “Fixed Width of 0”;
  2. Tab has no line attributes;
  3. Tab has no fill attributes.

If you don’t know whether a layout has hidden tab controls you will want to treat your layout gently. The easiest way to make hidden tabs visible is by dragging your mouse diagonally on the layout holding the Command (Apple) or CTRL (Windows) key down. Once selected, you can go to Format/Tab Control to see the formatting box.

The idea

In the demo file the invisible tabs are controlled by a value list-driven menu on the layout. There are several steps involved (see below). In the solution we added tabs to the tab controls on the layout, then assigned them “object names”. The process is that once you come back to browse mode, your tabs are automatically added to the drop-down menu, sorted by order and enclosed tabs show up on the menu under their respective parent. This demo file is not for everyone. If you are not comfortable adding an extra table to your existing solution, this is not for you.

Watch it in action

Unfortunately, YouTube cut off the end of the video with the contact information, but if you are reading this post, you know how to contact me.

Follow the steps below to implement this in your own solution:

  1. Copy the “Navigation” table and paste it in you solution.
  2. Copy the “Menu” and “Layout_Number” fields form the “Dog” table and paste it in the table your layout gets its data from. Connect your table to the “Navigation” TO (Layout_Number = Layout_Number).
  3. Copy and paste the whole folder of scripts called “Copy This Folder To Your Solution” into your solution. Connect your table to “Navigation” (Layout_Number = Layout_Number).
  4. Create a value list. Use values from a field called Navigation::Tab and also from Navigation::Sort_by. Include only related values from your own table and sort by the second field.
  5. Place the “Menu” field on the layout you are working on. Assign the freshly created value list to your “menu” field. Assign the “Switch to Tab ( tab ; -table ; -default_tab) “script to the OnObjectSave trigger, pass the “menu” field as a parameter.
  6. Create your tabs (if you don’t have them). and give each tab a unique object name.
  7. Go to Layout Setup/Script Triggers and assign the “Create Tab Records” script to the “OnModeEnter” trigger (only for Browse Mode) and the “Switch to Tab ( tab ; -table ; -default_tab)”script to OnLayoutEnter and set all three parameters.
  8. Go to Browse Mode, your menu should work now.


Protecting Customer Data – Solutions For A FileMaker Developer

In the process of creating solutions for their clients, FileMaker developers often find it easier to put the client’s database(s) on their own desktops, notebooks or servers rather than connecting to a remote computer. A lot of clients I deal with don’t pay too much attention to security, and it’s our job as developers to keep their data secure, whether it’s in the database or we’re talking about the database itself, especially during development. My take on this is very simple: if others mean harm, no security measures will keep them away from attaining their goal. However, as a technology specialist, it’s my duty to take measures to keep customer data safe. In this article, I am concentrating on three topics:

  1. Securing your computer
  2. Securing your FileMaker data
  3. Secure backups

The purpose of this article is not to cover anything and everything under the sun, but to remind you of best practices and give you some ideas about how to approach things. Also, I use a Mac, so if any of these things don’t work on Windows or if you’d need to do things differently, feel free to comment.

Securing Your Computer

  1. Assign a Password. While your sister’s computer may not need a password to log in with, as a developer I highly recommend you disable automatic login and give yourself a nice, at least 12 character-long, secure password. Secure means that you do not use the same password everywhere. If you need a tool to help you manage and keep passwords and even generate secure passwords for you, 1Password is the best I’ve seen.
  2. Eikon Fingerprint reader. If you need stronger security than a password for your notebook, I highly recommend the UPEK Eikon to Go Digital Privacy Manager for Mac. It’s a portable security device that fits on your keychain and can be with you wherever you go.
  3. Securing your passwords. Whether you are logging into a web site to pay your taxes or logging in to manage your email preferences from a newspaper, it is important to have secure password. In this age of increasing identity theft, this is getting to be more and more important. Below are a couple of tips on achieving this:
    1. Choose passwords that don’t contain personal information but are easily remembered. How do I know if my password is secure? If you have at least 12 characters and at least one number and a special character and your password does not read a full word in English, you’re onto a good start. There is a lot of literature on choosing passwords out there; here’s a good one from Microsoft.
    2. Don’t reuse your passwords. Make sure the websites for your bank accounts and credit cards have different login information. Don’t make it easy for people to gain access to one password and take everything from you.
    3. Use 1Password (or a similar utility) that is available for both Mac and Windows, iPhone/iPad and now Android, as well. Take your information with you securely, so you don’t have to remember all this useless information; instead, look them up when you need them. 1Password can also generate and store secure random passwords for you. Its keychain file can be synced to multiple machines (and the Android app) via Dropbox, so you can maintain your info on one device and it’ll be available to you on all of your devices (where applicable).
    4. Change your passwords every couple of months. Don’t be lazy about it. If someone gets hold of your information, it takes longer to get your money back from a bank than to change and store your password.

Securing your FileMaker Data

  1. Have a server (hosted or local). Have your files not be accessible to anyone locally but the FileMaker developers. This means not having the files on your File Server and NOT sharing the files with File Sharing. This can cause serious corruption in your database if a hosted file is opened locally and renders your file unusable.
  2. Convince your clients (yourself) to use privilege sets/accounts and passwords to manage the data in their FileMaker databases. People might not think it’s important but prevention is the best security measure. Give people access to what they need, no more and no less, to reduce human error.
  3. Make sure all of your FileMaker databases have passwords. This is especially important if you use the Data Separation Model. If you leave your data file unprotected, why bother putting a password on your interface file?
  4. Try to make sure users cannot set up an external file to have access to all your data in your main file. FileMaker Pro/Advanced 11 really helps with this. Previous versions allowed you to create references to your file. FileMaker 11 gives you an option to prohibit access with older versions of FileMaker and to require full access when creating references to your file. If security is important in your environment, it’s worth upgrading just for this.

Securing your FileMaker Backups

Backup, backup, backup. One can never emphasize this enough. Decide based on your server how often it can handle backups without causing serious hiccups in your environment. Let me give you an example. I used to have a FileMaker Server on an older XServe in an office environment. We did backups every hour and the databases paused for minutes, every hour on the hour so the backup can be performed. It was painful for 40 employees. I purchased a new XServe, moved the files to a RAID, and when the backup schedule ran every 30 minutes, nobody even noticed it. You can find a lot of literature on how to do backups. I suggest that you backup hourly, daily and weekly. Then move some of those backups offsite. One of the offsite solutions is Amazon AWS, but there are others. I use Amazon AWS in conjunction with 30Works’ SafetyNet. All my clients’ files that are stored on my server for development are backed up every night, so I can sleep well. The service is cheap and setup is a breeze. If anything happens, all you have to do is install SafetyNet on a different machine (anywhere in the world) and you can get back to work in minutes.

  1. Test your backups. It’s not enough to just have them sit somewhere. Open them up on occasion and test them to make sure there is no visible corruption. Don’t wait until something happens and then you realize your backups from the last 3 months are corrupt.
  2. Create clones on a regular basis of your healthy files. Same reason as above.